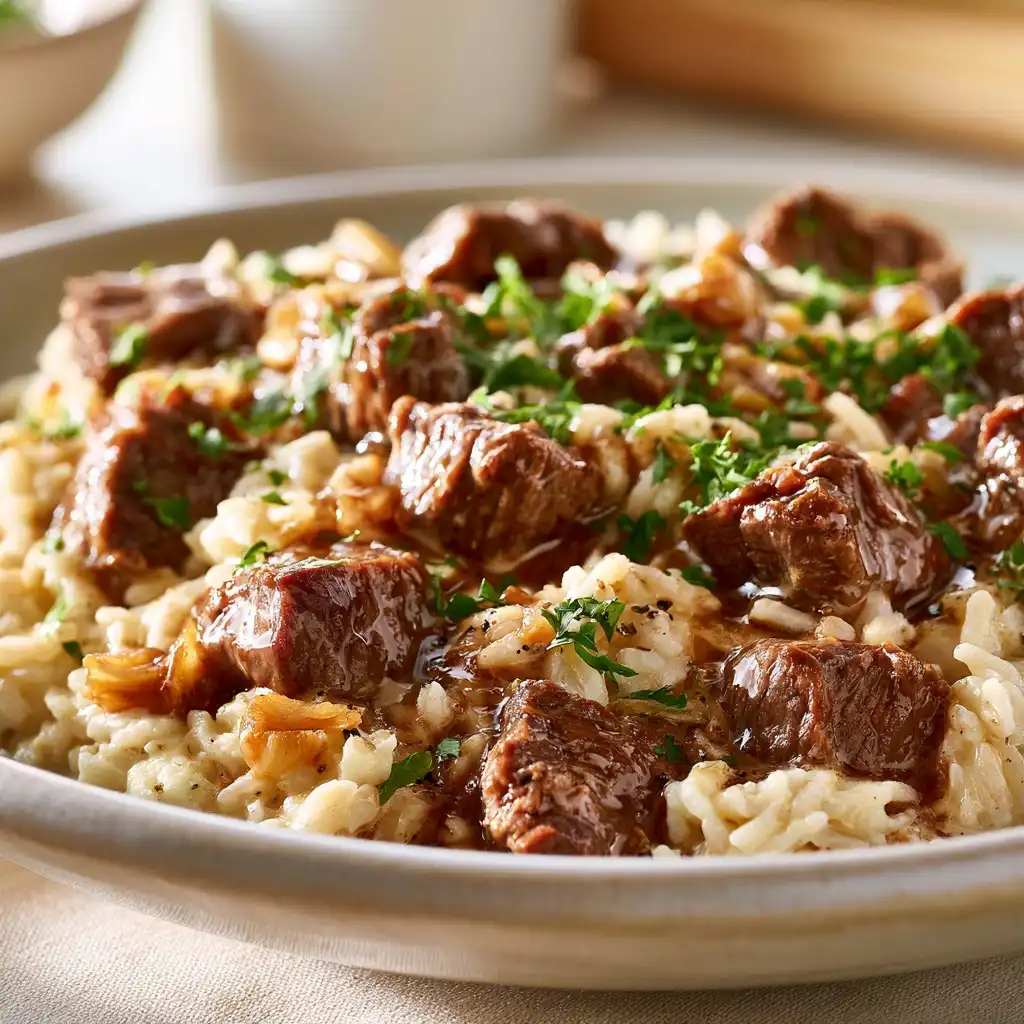
Honey garlic chicken is a tender, juicy poultry dish glazed with a sweet and savory sauce that sticks to every bite. This one-pan meal combines fresh garlic, golden honey, and soy sauce to create restaurant-quality results at home. Ready in under 30 minutes, this sticky dinner works perfectly for busy weeknights or impressive weekends.

| Prep Time | Cook Time | Total Time | Servings | Difficulty | Cuisine |
|---|---|---|---|---|---|
| 10 minutes | 20 minutes | 30 minutes | 4 servings | Easy | Asian-Inspired |
Why This Recipe Works
The honey garlic chicken recipe solves the common problem of dry, flavorless poultry by using a two-stage cooking method that locks in moisture while building a caramelized glaze. High heat sears the chicken quickly, developing a golden crust before the honey-garlic sauce reduces around each piece, creating that signature sticky coating.
The magic lies in balancing sweetness with umami depth. Soy sauce provides saltiness and savory notes that prevent the honey from overwhelming the dish, while fresh garlic adds pungent aromatics that brighten the entire sauce. This combination transforms simple chicken into a restaurant-caliber dish in your own kitchen.
What makes this dinner truly easy is the minimal prep and cleanup. Everything cooks in one skillet, which means fewer dishes and more time enjoying your meal. The recipe requires no marinating, special equipment, or advanced cooking techniques, making it accessible for beginners while satisfying experienced home cooks.
Ingredients
This honey garlic chicken recipe uses common pantry staples and fresh ingredients you likely have on hand or can find at any grocery store.
| Ingredient | Quantity | Notes |
|---|---|---|
| Chicken breasts, boneless skinless | 1.5 pounds | Cut into bite-sized pieces for even cooking; about 1.5-inch cubes |
| Raw honey | 1/3 cup | Use pure honey, not honey blend; this is the sweetness base |
| Fresh garlic cloves | 8 cloves | Minced finely for maximum flavor distribution |
| Low-sodium soy sauce | 1/4 cup | Regular soy sauce works; use low-sodium to control salt levels |
| Rice vinegar | 2 tablespoons | Adds tanginess that balances sweetness; white vinegar acceptable |
| Sesame oil | 1 tablespoon | Toasted variety preferred for deeper nutty flavor |
| Olive oil or vegetable oil | 2 tablespoons | For searing; use high smoke-point oil |
| Cornstarch | 1.5 teaspoons | Creates sauce thickness; dissolve in 1 tablespoon water first |
| Salt and black pepper | To taste | Season chicken pieces before searing |
| Red pepper flakes | 1/4 teaspoon (optional) | For subtle heat; adjust based on preference |
| Fresh ginger, minced | 1 teaspoon | Optional but recommended for added warmth and depth |
| Sesame seeds and green onions | For garnish | Fresh garnish brightens the final presentation |
Step-by-Step Instructions
Preparation Phase
- Prepare the chicken by patting the breasts dry with paper towels to remove excess moisture. Cut the chicken into 1.5-inch cubes, ensuring uniform sizing for even cooking throughout.
- Season all chicken pieces evenly with salt and black pepper on all sides. Set aside on a clean plate for 2 minutes to allow seasoning to adhere.
- Mince the garlic cloves finely and place in a small bowl. Prepare ginger if using and add to the same bowl.
- In another small bowl, whisk together honey, soy sauce, rice vinegar, and sesame oil until well combined. This is your glaze base.
- Mix cornstarch with 1 tablespoon of water in a separate container until smooth to prevent lumps in the sauce.
Cooking Phase
- Heat the oil in a large skillet over medium-high heat until it shimmers and moves freely across the pan surface.
- Add half the chicken pieces to the hot skillet in a single layer without crowding. Sear for 3-4 minutes without moving them.
- Flip each piece and sear the opposite side for another 3 minutes until golden brown. Transfer cooked chicken to a clean plate.
- Repeat the searing process with the remaining chicken pieces, adding more oil if needed. This batch-searing prevents overcrowding and ensures proper browning.
- Return all chicken pieces to the skillet over medium heat. The skillet should be uncrowded so sauce can coat everything evenly.
Glazing and Finishing Phase
- Add minced garlic and ginger to the skillet with chicken, stirring constantly for 1 minute until fragrant but not burned.
- Pour the honey-garlic sauce mixture over the chicken, stirring gently to coat all pieces evenly. Reduce heat to medium.
- Simmer uncovered for 4-5 minutes, stirring occasionally, until the sauce begins to thicken and reduce by about one-third.
- Add the cornstarch slurry while stirring continuously. The sauce will thicken noticeably within 1-2 minutes.
- Cook for an additional 2 minutes, allowing the sauce to coat the chicken pieces with a glossy, sticky finish. Taste and adjust seasonings if needed.
- Remove from heat and transfer to a serving platter. Garnish with sesame seeds and sliced green onions for color and fresh flavor.
Pro Tips for Best Results
- Dry the chicken thoroughly before searing: moisture prevents browning and creates steam instead of that desirable golden crust. Pat with paper towels twice if necessary.
- Don’t skip the batch-searing step: crowding the pan drops temperature, causing the chicken to steam rather than brown. This ruins the texture and color of your honey garlic chicken.
- Use room-temperature honey: cold honey thickens and resists mixing into the sauce. Warm honey at room temperature or briefly in a microwave before combining.
- Toast sesame oil separately before adding: this intensifies aromatics and prevents oil from cooking off during reduction. Add it to the glaze base, not directly to hot chicken.
- Reserve 2 tablespoons of the finished sauce before adding cornstarch: drizzle this raw, glossy sauce over the top after plating for visual appeal and enhanced sticky texture.
- Calibrate your cornstarch amount based on preferred sauce thickness: more cornstarch creates a glaze that clings tightly; less cornstarch produces a lighter sauce that pools slightly on the plate.
Common Mistakes to Avoid
Mistake 1: Using Wet Chicken
What goes wrong: Wet chicken releases steam instead of browning, resulting in pale, rubbery pieces that don’t absorb the glaze properly. The moisture creates a boiling environment that prevents Maillard browning reactions responsible for flavor development.
Why it happens: Packaged chicken retains liquid, and washing it adds more moisture without improving safety or cleanliness.
How to fix it: Pat chicken pieces thoroughly with paper towels immediately before seasoning. Don’t wash the chicken; patting dry is sufficient and faster.
Mistake 2: Skipping the Cornstarch Slurry
What goes wrong: The sauce remains thin and watery instead of coating the chicken with a sticky glaze. This results in chicken that slides around the plate and lacks the signature sticky texture that makes this dish memorable.
Why it happens: Some cooks reduce the sauce by simmering longer, but this concentrates flavors unevenly and can burn the honey, creating bitter notes.
How to fix it: Always prepare the cornstarch slurry by mixing cornstarch with cold water separately first. Add it during the final minutes of cooking to achieve proper thickness instantly.
Mistake 3: Cooking Everything at Once
What goes wrong: The skillet cools when too much cold chicken is added, preventing browning and causing the pieces to stick together. The resulting texture becomes mushy rather than tender with a seared exterior.
Why it happens: Home cooks often try to speed up cooking by combining all ingredients at once, unaware that batch cooking creates better results in less total time.
How to fix it: Divide the chicken into two batches and sear each separately, even if it adds 5 minutes to total cooking time. The quality improvement far outweighs the minimal time trade-off.
Mistake 4: Using Low-Quality Honey
What goes wrong: Cheap honey blends contain added corn syrup or glucose, which don’t caramelize properly and create a cloying taste without depth. The sauce tastes artificial and one-dimensional instead of naturally sweet.
Why it happens: Price-conscious shoppers grab the most affordable option without checking the label for pure honey content.
How to fix it: Read honey labels carefully and select 100% pure honey with no additives. Raw honey offers superior flavor complexity, though any pure honey works well.
Mistake 5: Adding Sauce Too Early
What goes wrong: Pouring the sauce over raw or partially cooked chicken creates a steaming effect that prevents browning and makes the exterior soggy. The chicken absorbs liquid unevenly, creating inconsistent texture throughout.
Why it happens: Impatient cooks combine ingredients early to reduce perceived cooking time, not understanding that proper sequencing is crucial for texture.
How to fix it: Always sear the chicken completely before adding any liquid. This 8-minute searing step is essential, even though it feels like you’re cooking just the protein alone.
Variations and Substitutions
This honey garlic chicken recipe adapts beautifully to different preferences and dietary needs while maintaining the signature sticky glaze.
| Ingredient | Substitution | Flavor Impact |
|---|---|---|
| Honey | Maple syrup or agave nectar | Maple adds woodsy depth; agave creates lighter sweetness with less caramel notes |
| Rice vinegar | Apple cider vinegar or lemon juice | Apple cider adds fruity tartness; lemon provides bright, citrus clarity |
| Soy sauce | Tamari or coconut aminos | Tamari offers deeper umami for gluten-free cooking; coconut aminos taste lighter |
| Chicken breasts | Chicken thighs or drumsticks | Thighs stay more tender; drumsticks require 5 minutes additional cooking time |
| Sesame oil | Peanut oil or grapeseed oil | Peanut oil adds subtle nuttiness; grapeseed is neutral but less flavorful |
| Fresh garlic | Garlic powder or roasted garlic | Powder provides consistency but less complexity; roasted adds sweetness |
| Red pepper flakes | Sriracha or cayenne pepper | Sriracha adds spicy-umami kick; cayenne provides pure heat without sauce addition |
| Green onions garnish | Cilantro or fresh basil | Cilantro adds herbaceous freshness; basil introduces unexpected sweetness |
Serving Ideas
Serve your honey garlic chicken over fluffy jasmine rice or white rice to catch every drop of the sticky glaze. The mild rice flavor acts as a canvas for the bold sauce without competing for attention. Alternatively, pair with cauliflower rice for a low-carb dinner that maintains the Asian-inspired essence.
Layer honey garlic chicken in rice bowls with steamed broccoli, snap peas, and sliced bell peppers for a colorful weeknight meal. The vegetables add textural contrast and visual appeal while contributing fresh, crisp elements that balance the rich, sticky sauce.
For entertaining, present the honey garlic chicken as part of a family-style spread featuring stir-fried vegetables, jasmine rice, and cucumber salad dressed with rice vinegar and sesame seeds. This presentation feels impressive while requiring minimal additional effort beyond the main dish.
Create lettuce wraps by spooning the warm chicken onto crisp butter lettuce leaves with julienned carrots and fresh herbs. This lighter serving option works perfectly for casual entertaining or as a fun interactive meal where guests assemble their own wraps.
Pack cooled honey garlic chicken into grain bowls with quinoa, roasted vegetables, and avocado for meal-prep lunches. The sauce adheres to the chicken even when cold, maintaining excellent flavor and texture throughout the week.
Storage and Reheating
| Method | Duration | Instructions |
|---|---|---|
| Refrigerator | Up to 4 days | Store in an airtight container at 40°F or below. The sauce thickens as it cools; this is normal and desired. Do not freeze sauce and chicken together if you prefer looser sauce texture later. |
| Freezer | Up to 3 months | Cool completely before freezing in freezer-safe containers or bags. Leave 1/2 inch headspace for expansion. Thaw overnight in refrigerator before reheating. |
| Stovetop Reheating | 5-7 minutes | Transfer to a skillet over medium heat, stirring occasionally. Add 1-2 tablespoons water if sauce appears too thick. Heat until chicken reaches 165°F internally and sauce is steaming. |
| Microwave Reheating | 2-3 minutes | Place in a microwave-safe bowl, cover loosely, and heat at 50% power for 2 minutes. Stir and continue heating for 1 minute more. This gentle approach prevents tough, rubbery chicken. |
| Oven Reheating | 12-15 minutes | Preheat oven to 350°F. Transfer chicken and sauce to an oven-safe dish, cover with foil, and heat for 12-15 minutes until warmed throughout. This method preserves texture best for larger batches. |
Nutritional Information
The following nutritional values are approximate and based on the standard honey garlic chicken recipe serving 4 people without additional side dishes. Values may vary based on specific ingredient brands and preparation methods.
| Nutrient | Amount per Serving |
|---|---|
| Calories | 285 |
| Protein | 32 grams |
| Total Fat | 8 grams |
| Saturated Fat | 1.5 grams |
| Carbohydrates | 18 grams |
| Dietary Fiber | 0 grams |
| Sugar | 16 grams |
| Sodium | 480 milligrams |
| Cholesterol | 85 milligrams |
Frequently Asked Questions
Can I Make Honey Garlic Chicken with Chicken Thighs Instead of Breasts?
Yes, chicken thighs work excellently in this sticky dinner recipe and often produce superior results. Thighs contain more fat than breasts, keeping the meat incredibly tender even if slightly overcooked. Increase the cooking time by 5-7 minutes since thighs are thicker than cubed breasts, and ensure internal temperature reaches 165°F before serving.
How Do I Make Honey Garlic Chicken Less Sweet for Picky Eaters?
Reduce the honey to 1/4 cup and increase soy sauce to 1/3 cup to shift the balance toward savory umami while maintaining the glaze consistency. Add an extra tablespoon of rice vinegar for brightness and tanginess that counteracts sweetness. Taste during cooking and adjust seasoning incrementally rather than all at once.
What’s the Best Way to Cook Honey Garlic Chicken in a Slow Cooker?
Sear the chicken in a skillet first to develop color and flavor, then transfer to a slow cooker with the sauce ingredients. Cook on low for 3-4 hours or high for 1.5-2 hours. Mix the cornstarch slurry with 2 tablespoons water and stir in during the final 15 minutes to thicken the sauce before serving.
Can I Prepare Honey Garlic Chicken Sauce Ahead of Time?
Absolutely. Mix the honey, soy sauce, rice vinegar, and sesame oil together up to 24 hours in advance and store in a sealed container in the refrigerator. Keep the cornstarch slurry separate and prepare it fresh right before cooking to prevent clumping. This advance prep makes weeknight cooking even faster.
How Do I Prevent the Honey Garlic Chicken Sauce from Breaking or Separating?
Ensure all ingredients are at roughly the same temperature when combining them in the skillet; drastic temperature differences cause separation. Add the cornstarch slurry gradually while stirring continuously rather than dumping it in all at once. If separation occurs, whisk vigorously off heat or blend briefly with an immersion blender until smooth and homogeneous.
Conclusion
Honey garlic chicken delivers restaurant-quality results in 30 minutes with everyday ingredients and simple techniques. This sticky dinner solves the weeknight dinner dilemma by combining incredible flavor with minimal effort and cleanup. Master this recipe once, and you’ll return to it constantly, impressing family and friends with its perfect balance of sweet, savory, and garlicky goodness. Start cooking today and experience why honey garlic chicken has become a beloved favorite in kitchens everywhere.
Print
Honey Garlic Chicken Recipe: Easy Sticky Dinner
- Total Time: 30
- Yield: 4 servings
- Diet: Not vegetarian
Description
Tender chicken chunks glazed with a sweet and savory honey-garlic sauce, perfect for a quick, restaurant-quality meal. Ready in 30 minutes with one-pan convenience, this Asian-inspired dish balances sticky sweetness with umami depth.
Ingredients
Chicken breasts, boneless skinless (1.5 pounds, cut into 1.5-inch cubes)
Raw honey (1/3 cup)
Fresh garlic cloves (8 cloves, minced)
Low-sodium soy sauce (1/4 cup)
Rice vinegar (2 tablespoons)
Sesame oil (1 tablespoon)
Olive oil or vegetable oil (2 tablespoons)
Cornstarch (1.5 teaspoons, dissolved in 1 tablespoon water)
Salt and black pepper (to taste)
Instructions
Pat chicken dry and season with salt and pepper
Heat oil in a skillet over medium-high heat; sear chicken until golden (4-5 minutes per side)
Stir in soy sauce, honey, garlic, vinegar, and sesame oil; reduce heat to medium
Bring to a simmer and cook 8-10 minutes until chicken is cooked through
Spoon cornstarch slurry into skillet, stirring until sauce thickens (2-3 minutes)
Transfer chicken to a platter and drizzle remaining sauce over the top
Notes
Use boneless, skinless chicken breasts for optimal moisture
Low-sodium soy sauce prevents excessive salt if using regular soy
White vinegar can substitute rice vinegar if unavailable
Add 1/2 cup seedless grapes for a tangy twist
Store leftovers in airtight container in refrigerator for up to 3 days
Serving suggestion: Garnish with sesame seeds and sliced green onions
- Prep Time: 10
- Cook Time: 20
- Category: Dinner
- Method: Stir-frying
- Cuisine: Asian-Inspired
Nutrition
- Serving Size: 1 serving
- Calories: 420
- Sugar: 32g
- Sodium: 480mg
- Fat: 24g
- Saturated Fat: 3g
- Carbohydrates: 36g
- Fiber: 0.5g
- Protein: 42g
- Cholesterol: 85mg