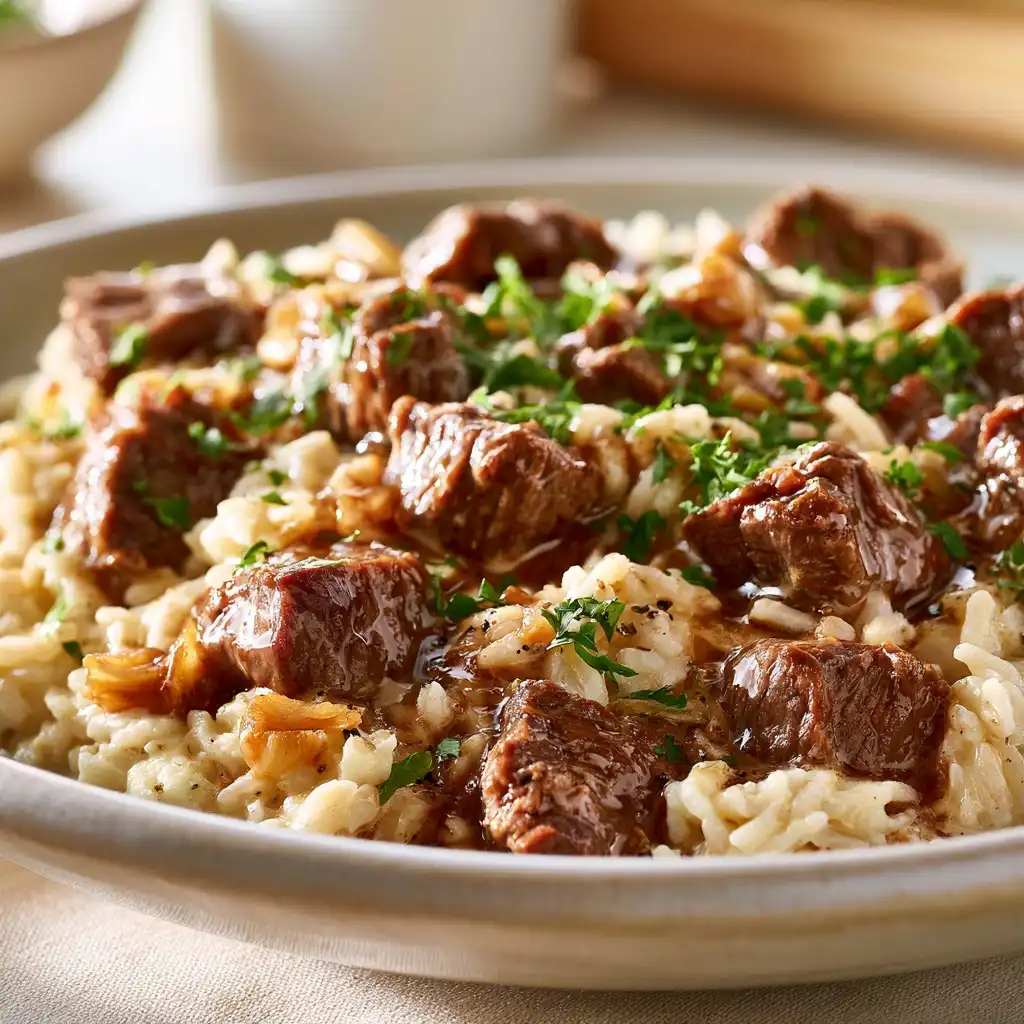
Crispy, golden tortillas wrapped around the most tender, saucy, and flavorful filling—this is the weeknight dinner hero you’ve been searching for. Imagine juicy chicken and melty cheese, all swirled in a luxuriously creamy garlic sauce that’s impossibly easy to make.
These Cheesy Garlic Chicken Wraps are the answer to “What’s for dinner?” on your busiest nights. They come together in one skillet with minimal prep, are a guaranteed hit with kids and adults alike, and deliver that irresistible, ooey-gooey factor we all crave.
Why You’ll Love This Easy Recipe
- Ready in Under 30 Minutes: From fridge to table in the time it takes for delivery to arrive.
- Family-Friendly & Kid-Approved: A surefire way to get everyone to the dinner table without a fuss.
- Incredibly Versatile: Easily adapt the ingredients based on what you have on hand.
- Minimal Cleanup: Cook the filling in a single skillet for a stress-free evening.
Your Simple Ingredients
This recipe uses simple, affordable ingredients to create a seriously delicious meal. The magic is in the combination!
For the Chicken Filling:
- 1 lb boneless, skinless chicken breasts, cut into ½-inch pieces
- 1 tablespoon olive oil
- 1 teaspoon onion powder
- Salt and black pepper, to taste
For the Creamy Garlic Sauce:
- 2 tablespoons butter
- 4-5 cloves garlic, minced
- 1 tablespoon all-purpose flour
- 1 cup chicken broth
- ½ cup heavy cream (or half-and-half for a lighter option)
- 1 teaspoon dried parsley
- ½ teaspoon The Ranch seasoning mix (optional, for extra zest)
For Assembling the Wraps:
- 4 large burrito-size flour tortillas
- 1 ½ cups shredded mozzarella cheese
- ½ cup shredded cheddar cheese
- Cooking spray or extra butter for toasting
How to Make Cheesy Garlic Chicken Wraps
Follow these simple steps for the perfect, mess-free wrap every time.
Step 1: Cook the Chicken
Heat the olive oil in a large skillet over medium-high heat. Season the chicken pieces with onion powder, salt, and pepper. Add the chicken to the hot skillet and cook for 5-7 minutes, stirring occasionally, until the outside is golden and the internal temperature reaches 165°F (74°C). The chicken should be opaque and no longer pink in the center. Remove the chicken from the skillet and set it aside.
Step 2: Create the Creamy Sauce
In the same skillet, reduce the heat to medium and melt the butter. Add the minced garlic and cook for just 30-60 seconds until fragrant—be careful not to burn it. Sprinkle the flour over the butter and garlic, whisking constantly for about one minute to form a paste. This cooks out the raw flour taste.
Gradually pour in the chicken broth while whisking to prevent any lumps. Let it simmer for 2-3 minutes until it thickens slightly. Stir in the heavy cream, dried parsley, and optional Ranch seasoning. Bring the sauce to a gentle simmer until it’s thick enough to coat the back of a spoon.
Step 3: Combine and Assemble
Return the cooked chicken to the skillet, stirring to coat it completely in the creamy garlic sauce. Remove the skillet from the heat.
Lay a tortilla flat and spoon a generous portion of the chicken mixture down the center. Top with a hearty handful of the mixed mozzarella and cheddar cheeses. Be careful not to overfill, or wrapping will be tricky.
Step 4: Fold and Toast to Perfection
Fold the sides of the tortilla inward, then roll it up tightly from the bottom, burrito-style.
Wipe the skillet clean or use a separate grill pan. Lightly spray with cooking spray or brush with butter and heat over medium heat. Place the wraps seam-side down and cook for 2-3 minutes per side, until the tortilla is crisp and golden brown with beautiful grill marks and the cheese is audibly sizzling inside.
Pro Tips for the Best Wraps
- Prevent Soggy Wraps: Let the chicken filling cool for a few minutes before assembling. A hot filling will steam the tortilla from the inside, making it soft instead of crispy.
- Customize the Heat: Add a pinch of red pepper flakes to the sauce or a dash of hot sauce to the filling for a spicy kick.
- The Perfect Crisp: For an extra-crispy exterior, you can toast the wraps in an air fryer at 375°F (190°C) for 4-5 minutes.
- Veggie Boost: Sauté some finely chopped spinach or bell peppers with the garlic for an easy way to add vegetables.
Serving & Storage Notes
Serving Suggestions:
These wraps are a complete meal on their own, but they pair wonderfully with a simple side salad, a bowl of tomato soup, or some crispy sweet potato fries.
Storing Leftovers:
Allow leftover wraps to cool completely before storing. Place them in an airtight container in the refrigerator for up to 3 days.
Reheating Instructions:
To maintain the crispy texture, reheat in an air fryer at 350°F (175°C) for 5-7 minutes or in a conventional oven at 375°F (190°C) for about 10 minutes. The microwave will work in a pinch but will result in a soft tortilla.
FAQ
Can I make these cheesy garlic chicken wraps ahead of time?
Absolutely! You can prepare the chicken filling 1-2 days in advance and store it in the refrigerator. When you’re ready to eat, simply reheat the filling, assemble your wraps, and toast them in a pan for a quick and easy dinner.
What’s a good substitute for heavy cream in the sauce?
For a lighter creamy garlic sauce, you can use half-and-half or whole milk. The sauce will be slightly less rich but still delicious. For a dairy-free option, full-fat canned coconut milk works well.
How can I ensure my chicken wraps don’t fall apart?
The key is not to overfill them. Leave a 1-2 inch border around the sides for folding. Also, toasting them seam-side down first helps seal the wrap shut.
Are these chicken wraps freezer-friendly?
Yes, these wraps freeze beautifully. Wrap each cooled wrap tightly in plastic wrap and then in foil. Freeze for up to 2 months. Reheat from frozen in the oven at 375°F (190°C) for 20-25 minutes, until hot and crispy.