If you are looking for that perfect intersection of pro-level flavor and weeknight efficiency, the air fryer is your best friend. As a chef, I’m often asked how to get “restaurant-quality” chicken at home without the mess of a stovetop sear. The answer is high-velocity convection heat.
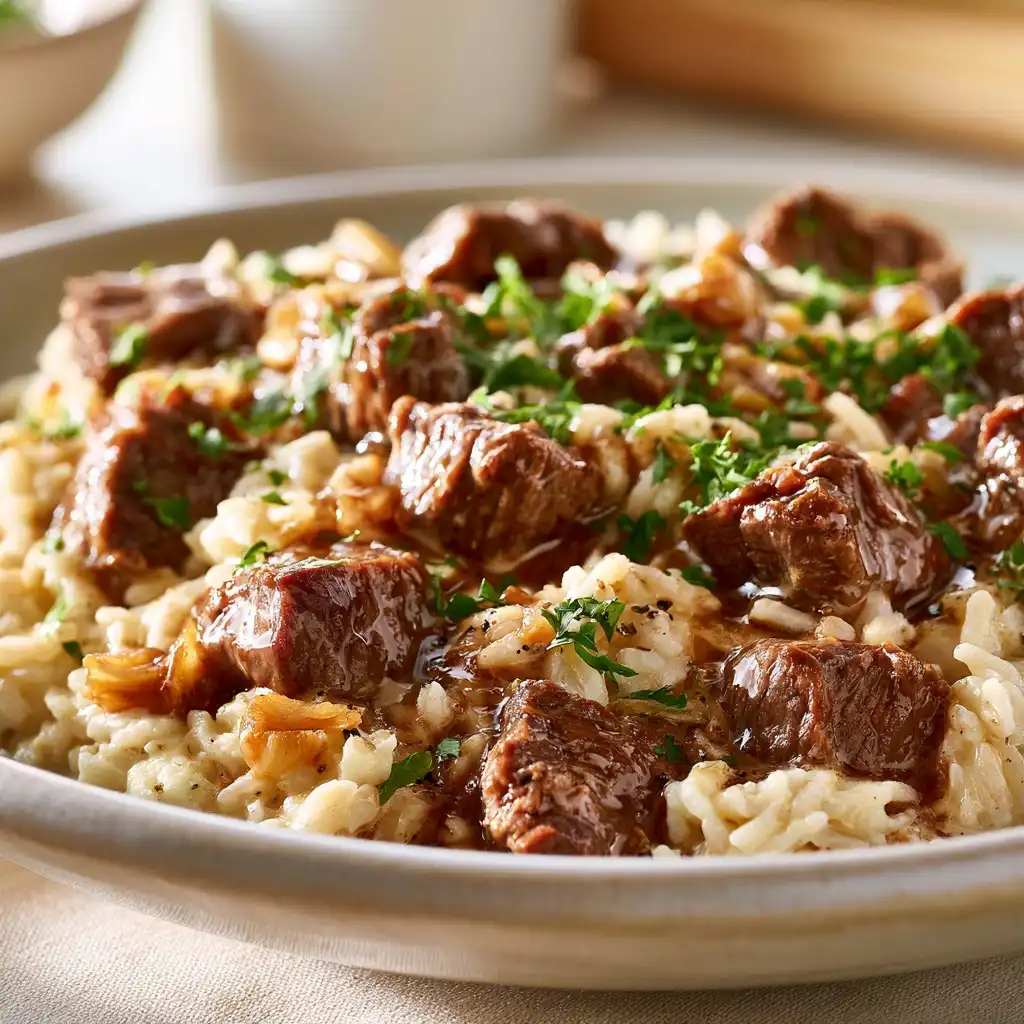
These Air Fryer Chicken Burrito Bowls deliver juicy, spice-rubbed chicken with charred edges in under 12 minutes of cook time. By the time your rice is fluffed and your lime is sliced, dinner is served. This isn’t just a recipe; it’s a blueprint for a healthy, high-protein lifestyle that actually tastes good.
Why This Recipe Works: The Science of the Air Fryer
The secret to a superior burrito bowl lies in the Maillard reaction. In a traditional oven, chicken can often bake in its own steam, leading to a rubbery texture. In an air fryer, the rapid circulation of hot air dehydrates the surface of the chicken quickly, creating a beautiful “crust” while locking in the juices.
Because we are cutting the chicken into bite-sized pieces before cooking, we increase the surface area for seasoning. This means more flavor in every single forkful. When paired with fresh components like Healthy chicken burrito lunch bowls, you create a meal that hits every sensory note: hot, cold, crunchy, and creamy.
Ingredient Deep Dive: Choosing Your Components
To build the ultimate bowl, you need to understand the role of each ingredient. Quality matters here because the preparation is so simple.
- The Protein: I recommend boneless, skinless chicken thighs for the best flavor, but breasts work perfectly if you monitor the internal temperature.
- The Spice Rub: A blend of smoked paprika, cumin, garlic powder, and a touch of chili powder. The smoked paprika provides that “off the grill” essence without the charcoal.
- The Base: While white rice is classic, you can use cilantro-lime quinoa or a bed of greens for a lower-carb option. Check out this One pot chicken and rice no fail recipe for base inspiration.
- The Acid: Never skip the fresh lime. It cuts through the richness of the avocado and the salt of the chicken.
- The Fat: Sliced avocado or a dollop of Greek yogurt (a great high-protein substitute for sour cream) provides the necessary mouthfeel.
Ingredients List (U.S. Customary)
For the Air Fryer Chicken:
- 1.5 lbs Boneless skinless chicken breasts or thighs, cut into 1-inch pieces
- 2 tbsp Olive oil or avocado oil
- 1 tsp Smoked paprika
- 1 tsp Ground cumin
- 1 tsp Garlic powder
- 1/2 tsp Onion powder
- 1/2 tsp Salt (plus more to taste)
- 1/4 tsp Black pepper
For the Bowl Assembly:
- 3 cups Cooked rice (white, brown, or cauliflower rice)
- 1 can (15 oz) Black beans, drained and rinsed
- 1 cup Corn (frozen, canned, or roasted)
- 1 cup Cherry tomatoes, halved
- 1 large Avocado, sliced
- 1/4 cup Fresh cilantro, chopped
- 2 Limes, cut into wedges
- Optional: Shredded cheddar or Monterey Jack cheese
Step-by-Step Instructions
1. Prep and Marinate the Chicken
In a large mixing bowl, combine the chicken pieces, oil, and all the spices. Toss thoroughly until every piece of chicken is evenly coated. For the best results, let it sit for 10 minutes at room temperature to allow the salt to penetrate the meat.
2. Preheat the Air Fryer
Preheat your air fryer to 400°F (200°C). Preheating is a crucial “chef step”—it ensures the chicken starts searing the moment it hits the basket, preventing it from sticking.
3. Air Fry the Chicken
Place the chicken in the air fryer basket in a single layer. Do not overcrowd; if your basket is small, cook in two batches. Air fry for 10–12 minutes, shaking the basket halfway through. The chicken is done when it reaches an internal temperature of 165°F (74°C).
4. Prepare the Base and Toppings
While the chicken cooks, warm your beans and corn. If you’re looking for a more detailed prep guide, see our Chicken burrito bowls avocado lime meal prep guide.
5. Assemble the Bowls
Divide the rice into four bowls. Top with the air-fried chicken, black beans, corn, tomatoes, and avocado.
6. The Final Flourish
Garnish with fresh cilantro and a generous squeeze of lime juice. Serve immediately while the chicken is hot and the veggies are crisp.
Substitution Matrix for Modern Cooks
| Ingredient | Best Substitute | Chef’s Note |
| Chicken | Firm Tofu or Shrimp | Adjust air fryer time: 8 mins for shrimp, 15 for tofu. |
| White Rice | Quinoa or Cauliflower Rice | Cauliflower rice keeps it keto-friendly. |
| Black Beans | Pinto Beans or Chickpeas | Chickpeas add a nice nutty crunch. |
| Sour Cream | Plain Greek Yogurt | Adds a protein boost and the same tang. |
| Smoked Paprika | Chipotle Powder | Use sparingly if you want more heat. |
5 Creative Variations to Try
- The Fajita Bowl: Add sliced bell peppers and onions to the air fryer basket with the chicken. They will soften and char at the same rate.
- The Spicy Verde Bowl: Swap the dry rub for 1/4 cup of salsa verde and top the finished bowl with pickled jalapeños.
- The “Power” Bowl: Replace rice with a mix of kale and spinach and add a soft-boiled egg for extra protein.
- The Tropical Bowl: Add diced mango or pineapple salsa instead of tomatoes for a sweet and savory contrast.
- The Mediterranean Twist: Use dried oregano and lemon instead of cumin and lime, and swap beans for chickpeas and feta.
Storage & Meal Prep Mastery
This is one of the best recipes for meal prep because the components hold up incredibly well in the fridge.
- Fridge: Store the chicken and rice together in airtight containers for up to 4 days. Keep the fresh toppings (avocado, lime, cilantro) in separate small containers or bags to prevent wilting.
- Reheating: To keep the chicken juicy, reheat in the air fryer at 350°F (175°C) for 3–4 minutes rather than using the microwave.1
- Freezing: You can freeze the cooked chicken and rice for up to 3 months. Thaw overnight in the refrigerator before reheating.
Pro Tips for Success
- Dry the Meat: Before adding the oil and spices, pat the chicken dry with paper towels. Moisture is the enemy of a good sear.
- Don’t Overcook: Chicken breast can go from juicy to dry in 60 seconds. Use an instant-read thermometer to pull the chicken at 160°F; carry-over cooking will bring it to the safe 165°F.
- The “Rest” Period: Let the chicken rest for 2–3 minutes after air frying before assembling the bowls. This allows the juices to redistribute.
FAQ: Common Questions
Can I use frozen chicken?
I don’t recommend putting frozen chicken directly into the air fryer for this recipe. The outside will overcook before the center thaws. Thaw completely in the fridge first for the best texture.
Is this recipe gluten-free?
Yes! As long as your spice blend doesn’t contain anti-caking agents with gluten (rare), this recipe is naturally gluten-free.
What is the best air fryer for this?
Any basket-style or toaster oven-style air fryer works. The key is ensuring you have enough space to keep the chicken in a single layer.
Do I need to use oil?
While you can skip it, 1–2 tablespoons of oil helps the spices adhere and significantly improves the browning and “mouthfeel” of the chicken.
Can I use chicken thighs?
Absolutely. In fact, I prefer them. They are more forgiving and remain juicy even if you accidentally cook them a minute too long.