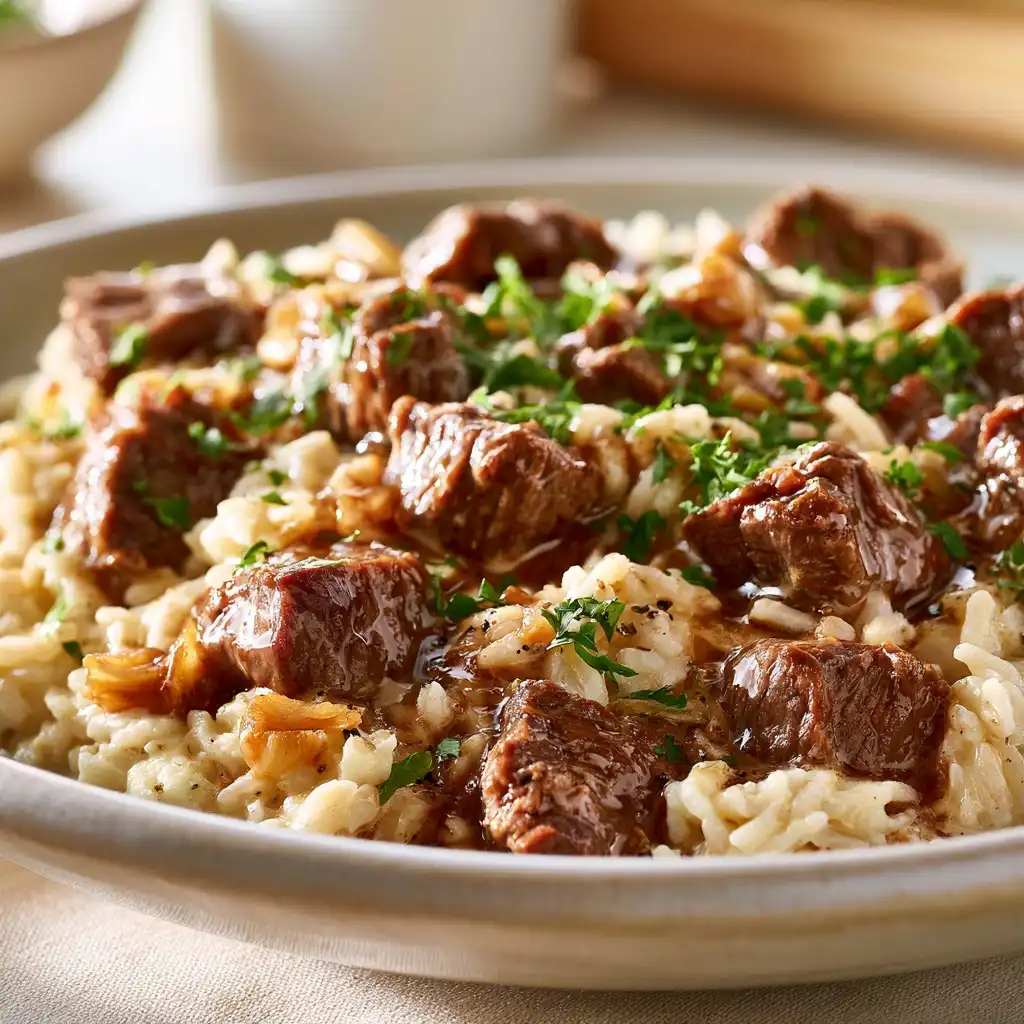
Better Than Takeout Sticky Teriyaki Chicken Bowls are a savory-sweet Japanese-inspired meal featuring tender chicken thighs glazed in a thick, glossy sauce served over fluffy steamed rice. This specific recipe prioritizes a high-sugar, low-moisture reduction technique to ensure the sticky teriyaki chicken pieces achieve a deep mahogany color and a signature shine. By balancing salty soy notes with bright ginger and garlic, you create a restaurant-quality bowl that surpasses local takeout options in both freshness and flavor profile.

Recipe Overview
| Prep Time | Cook Time | Total Time | Servings | Difficulty | Cuisine |
|---|---|---|---|---|---|
| 15 Minutes | 20 Minutes | 35 Minutes | 4 Servings | Easy | Japanese-American |
Why This Recipe Works
This recipe works because it utilizes the Maillard reaction to sear the meat before introducing the glaze, preventing the chicken from boiling in its own juices. Most home cooks struggle with watery sauces, but this method uses a controlled reduction that coats every crevice of the chicken without making the skin or meat soggy. The high heat ensures the sugars in the glaze caramelize rapidly, creating that iconic “sticky” texture that clings to the protein.
Furthermore, using chicken thighs instead of breasts provides a higher fat content which emulsifies with the soy and honey, resulting in a richer mouthfeel. The addition of steamed white rice serves as a neutral canvas to soak up the thick teriyaki sauce, ensuring no flavor is wasted. This balance of textures—crunchy sesame seeds, soft rice, and juicy chicken—makes it a superior alternative to greasy fast-food versions.
Ingredients
High-quality ingredients are essential for achieving the distinct glossy finish and deep umami flavor found in professional Japanese kitchens.
| Ingredient | Quantity | Notes |
|---|---|---|
| Chicken Thighs | 1.5 lbs | Boneless, skinless, cut into 1-inch pieces |
| Soy Sauce | 1/2 Cup | Use low-sodium to control saltiness |
| Honey or Brown Sugar | 1/3 Cup | Crucial for the sticky consistency |
| Fresh Ginger | 1 Tbsp | Grated finely for maximum distribution |
| Garlic | 3 Cloves | Minced or pressed |
| Rice Vinegar | 1 Tbsp | Adds necessary acidity to cut the sweetness |
| Cornstarch Slurry | 1 Tbsp + Water | Used to thicken the visible shine and pooling |
| Steamed White Rice | 3 Cups | Cooked according to package instructions |
| Sesame Seeds | 1 Tbsp | Toasted for extra nuttiness |
| Green Onions | 2 Stalks | Sliced on a bias for garnish |
Step-by-Step Instructions
Following a specific sequence ensures the chicken remains tender while the sauce thickens into a professional-grade glaze.
Phase 1: Preparation
- Pat the chicken pieces dry with paper towels to ensure a better sear in the pan.
- Whisk the soy sauce, honey, ginger, garlic, and rice vinegar in a small bowl until the sugar dissolves.
- Prepare the cornstarch slurry by mixing one tablespoon of cornstarch with two tablespoons of cold water.
Phase 2: Searing and Glazing
- Heat a large skillet or wok over medium-high heat with a teaspoon of neutral oil.
- Brown the chicken pieces in a single layer, working in batches if necessary to avoid crowding.
- Cook the chicken for 5-7 minutes until the edges are crispy and the internal temperature reaches 165°F.
- Pour the prepared sauce over the chicken and bring it to a vigorous simmer.
- Stir in the cornstarch slurry once the sauce begins to bubble.
Phase 3: Finishing and Plating
- Toss the chicken continuously for 2 minutes as the sauce thickens into a dark, glossy glaze.
- Divide the steamed white rice into four bowls and top with a generous portion of chicken.
- Drizzle extra thick teriyaki sauce over the rice to allow for visible pooling.
- Sprinkle sesame seeds and sliced green onions over the top for the final presentation.
Pro Tips for Best Results
- Freeze your fresh ginger root and grate it while frozen to achieve a fine paste without fibrous strings.
- Toast your sesame seeds in a dry pan for 30 seconds before garnishing to unlock essential oils and aroma.
- Always use a cold liquid for your cornstarch slurry to prevent clumps from forming in the hot glaze.
- Deglaze the pan with a splash of water or broth if the sugars begin to darken too quickly before the chicken is done.
- Allow the cooked chicken to rest for two minutes before serving so the glaze fully sets into a tacky consistency.
Common Mistakes to Avoid
Overcrowding the Pan: When too much chicken is added at once, the temperature of the pan drops and the chicken steams rather than sears. This results in grey, rubbery meat. Fix this by cooking in batches to maintain high heat.
Using Cold Meat: Adding chicken directly from the refrigerator prevents a proper crust. Let the meat sit at room temperature for ten minutes before cooking for a better sear.
Excessive Stirring: Constantly moving the chicken prevents it from developing a golden-brown exterior. Leave the meat undisturbed for the first three minutes of cooking.
Missing Acid: A sauce composed only of soy and sugar will taste one-dimensional and heavy. Ensure you include rice vinegar or lime juice to brighten the flavor profile.
Variations and Substitutions
| Ingredient | Substitution | Flavor Impact |
|---|---|---|
| Chicken Thighs | Firm Tofu | Absorbs the sauce well but lacks the fatty richness of poultry |
| Honey | Maple Syrup | Adds a woody, autumnal sweetness to the glaze |
| White Rice | Quinoa | Provides a nuttier flavor and increased protein content |
| Rice Vinegar | Apple Cider Vinegar | Slightly fruitier acidity that pairs well with the ginger |
Serving Ideas
For a complete meal, pair these Better Than Takeout Sticky Teriyaki Chicken Bowls with charred bok choy or steamed broccoli to add a vibrant green element. If serving for a dinner party, plate the chicken in wide, shallow bowls to showcase the visible pooling of the sauce against the white rice. For a modern twist, add a side of quick-pickled cucumbers to provide a cold, crunchy contrast to the hot, sticky chicken. These bowls also work exceptionally well for meal prep, as the flavors deepen after sitting for a day.
Storage and Reheating
| Method | Duration | Instructions |
|---|---|---|
| Refrigerator | 3-4 Days | Store in an airtight container once completely cooled |
| Freezer | 2 Months | Freeze chicken and sauce separately from rice for best texture |
| Reheating | 2-3 Minutes | Microwave with a damp paper towel or reheat in a skillet with a splash of water |
Nutritional Information
| Nutrient | Amount per Serving |
|---|---|
| Calories | 540 kcal |
| Protein | 32g |
| Carbohydrates | 68g |
| Sugars | 18g |
| Fat | 14g |
Approximate values based on standard ingredient sizes.
Frequently Asked Questions
How do I make my teriyaki sauce thick and glossy?
The secret to a glossy sauce is the combination of a high-sugar content and a cornstarch slurry. As the sugars reduce and the cornstarch hydrates, the sauce transitions from watery to a reflective, thick glaze that clings to the chicken. Ensure the sauce reaches a full boil to activate the thickening properties of the starch.
Can I use chicken breast for this recipe instead of thighs?
You can certainly use chicken breast, though you must be careful not to overcook it. Since breasts are leaner, they can become dry quickly, so consider reducing the initial sear time by one minute. Using a meat thermometer helps ensure the meat stays juicy at exactly 165°F.
What makes this version better than takeout?
This home-cooked version is superior because it avoids the excessive sodium and preservatives often found in commercial sauces. By using fresh aromatics like grated ginger and garlic, you achieve a level of flavor depth that mass-produced kitchen versions cannot match. Furthermore, you control the quality of the oil and the sear on the meat.
What is the best type of rice for teriyaki bowls?
Short-grain or medium-grain white rice, such as Jasmine or Calrose, is the ideal choice for these bowls. These varieties have a slight stickiness that allows the rice to hold onto the pooling sauce without becoming mushy. For more information on rice varieties, check the USA Rice Federation guidelines.
Is homemade teriyaki sauce gluten-free?
Standard teriyaki sauce is not gluten-free because it contains soy sauce brewed with wheat. To make this recipe gluten-free, simply substitute the soy sauce with Tamari or coconut aminos. Always verify that your cornstarch and other additives are processed in a gluten-free facility.
Conclusion
Creating Better Than Takeout Sticky Teriyaki Chicken Bowls at home is an achievable way to enjoy a high-quality, flavorful meal without the delivery fee. By focusing on a proper sear and a perfectly reduced glaze, you can produce a dish that features professional shine and incredible taste. Whether you are meal prepping for the week or looking for a fast family dinner, this recipe delivers consistent results. Embrace the simplicity of these ingredients to master the art of the perfect teriyaki bowl today.
PrintBetter Than Takeout Sticky Teriyaki Chicken Bowls
- Total Time: 35
- Yield: 4 servings 1x
Description
Savory-sweet Japanese-inspired chicken thighs glazed in a rich, glossy sauce, served over fluffy rice. Achieve a deep mahogany color and sticky texture through controlled reduction using high heat.
Ingredients
1.5 lbs chicken thighs, boneless skinless, cut into 1-inch pieces
1/2 cup low-sodium soy sauce
1/3 cup honey or brown sugar
1 tbsp fresh ginger, grated
3 cloves garlic, minced or pressed
1 tbsp rice vinegar
1 tbsp cornstarch mixed with 2 tbsp water (slurry)
4 cups steamed white rice
1 tbsp toasted sesame seeds
Instructions
Pat chicken dry and season with salt and pepper
Heat 1 tbsp oil in a skillet over medium-high heat
Sear chicken in batches until golden (4-5 minutes per side)
Transfer to bowl and refrigerate 5 minutes
Return chicken to skillet with any accumulated juices
Combine soy sauce, honey, ginger, garlic, and rice vinegar in a bowl
Pour over chicken and cook 5 minutes
Add cornstarch slurry and reduce sauce until glossy (3-4 minutes)
Serve chicken over rice, sprinkle with sesame seeds
Notes
Use parchment paper for even rice steaming
Rest chicken before refrigerating for best texture
Swap brown sugar for honey if unavailable
Thicken sauce gradually to avoid over-reduction
- Prep Time: 15
- Cook Time: 20
- Category: Dinner
- Method: Stir-Frying and Reduction
- Cuisine: Japanese-American
Nutrition
- Serving Size: 1 bowl
- Calories: 520
- Sugar: 32g
- Sodium: 800mg
- Fat: 18g
- Saturated Fat: 4g
- Carbohydrates: 70g
- Fiber: 2g
- Protein: 38g
- Cholesterol: 120mg