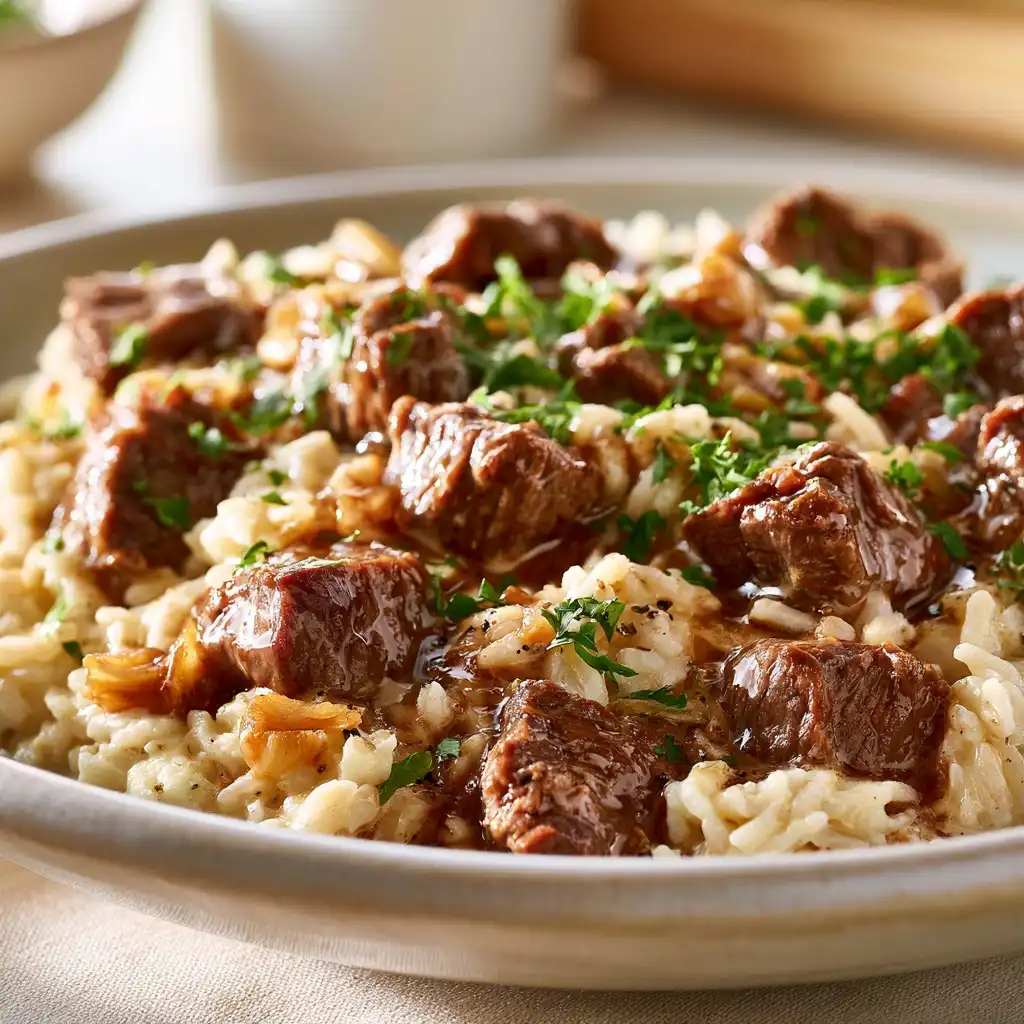
Garlic parmesan chicken cutlets are thin, golden-fried chicken breasts coated in a savory breadcrumb mixture with fresh garlic and Italian cheese. This classic Italian-American dish delivers restaurant-quality results at home with minimal effort. The exterior becomes perfectly crispy while the interior stays juicy and tender. Garlic parmesan chicken cutlets make an ideal weeknight dinner that impresses family and guests alike.
| Prep Time | Cook Time | Total Time | Servings | Difficulty | Cuisine |
|---|---|---|---|---|---|
| 15 minutes | 10 minutes | 25 minutes | 4 servings | Easy | Italian-American |

Why This Recipe Works
This garlic parmesan chicken cutlets recipe succeeds because it combines simple, quality ingredients with proper technique to create maximum flavor and texture contrast. The pounding step flattens the chicken evenly, ensuring rapid, uniform cooking that keeps meat tender while the coating crisps beautifully. Toasted breadcrumbs mixed with garlic and parmesan create a savory crust that tastes restaurant-quality but requires no special equipment or skills.
The butter in the pan builds a golden, nutty fond that adds depth to the finished dish. Most home cooks struggle with bland chicken or soggy coatings, but this method prevents both problems through proper temperature control and ingredient proportions. You’ll have dinner on the table in under 30 minutes without sacrificing taste or presentation.
The recipe solves the common problem of dry chicken breast by using thin cutlets that cook quickly and stay moist. The crispy exterior provides textural contrast that elevates the entire dish from ordinary to impressive. This approach works for both weeknight meals and entertaining because it’s foolproof yet elegant.
Ingredients for Garlic Parmesan Chicken Cutlets
Gather these essential ingredients to create perfectly crispy and flavorful garlic parmesan chicken cutlets that rival your favorite Italian restaurant.
| Ingredient | Quantity | Notes |
|---|---|---|
| Chicken cutlets | 4 pieces (6 oz each) | Use thin-sliced breasts or pound thicker breasts to 1/4-inch thickness. Pound gently to avoid tearing. |
| Parmesan cheese, grated | 1 cup | Use freshly grated Parmigiano-Reggiano for superior flavor and texture. |
| Breadcrumbs, panko | 1.5 cups | Panko breadcrumbs create extra crispiness. Regular breadcrumbs work but produce a denser crust. |
| Garlic, minced fresh | 4 cloves | Mince finely to distribute evenly. Pre-minced garlic loses potency; avoid if possible. |
| Butter | 6 tablespoons | Use unsalted butter for better control of final salt level. Essential for browning and flavor. |
| Eggs | 2 large | Acts as the binding agent between chicken and coating. Essential for adhesion. |
| All-purpose flour | 1/2 cup | Creates a dry base for the egg to adhere to. This step prevents slipping coating. |
| Salt | 1 teaspoon | Season both the chicken and coating mixture for layered flavor. |
| Black pepper, ground | 1/2 teaspoon | Freshly ground pepper delivers superior flavor compared to pre-ground varieties. |
| Italian herbs, dried | 1 teaspoon | Oregano, basil, or Italian seasoning all work. Optional but recommended for extra depth. |
| Lemon | 1 | Use for zesting and juice. Fresh lemon brightens the final dish. |
Step-by-Step Instructions for Crispy Chicken Cutlets
Preparation Phase
- Place chicken cutlets between two sheets of plastic wrap or inside a large zip-top bag.
- Pound each cutlet gently with a meat mallet until uniformly 1/4-inch thick throughout.
- Pat the pounded chicken dry with paper towels to remove excess moisture.
- Set up three shallow bowls in a line for the breading station.
- Fill the first bowl with all-purpose flour mixed with 1/4 teaspoon salt and 1/4 teaspoon pepper.
- Whisk together eggs in the second bowl with 1 tablespoon water until well combined.
- Combine panko breadcrumbs, grated parmesan, minced garlic, Italian herbs, and remaining salt and pepper in the third bowl.
- Mix the breadcrumb mixture thoroughly to distribute garlic and seasonings evenly.
Breading and Cooking Phase
- Dredge the first cutlet in flour, shaking off excess, then place on a clean plate.
- Dip the floured cutlet into the egg mixture, coating both sides evenly.
- Press the cutlet firmly into the breadcrumb mixture, coating both sides generously.
- Place the breaded cutlet on a clean plate and repeat steps 9-11 with remaining cutlets.
- Heat 3 tablespoons of butter in a large skillet over medium-high heat for 1 minute.
- Add two breaded cutlets to the hot butter when foam subsides, being careful not to overcrowd.
- Cook for 3-4 minutes without moving the cutlets, allowing the coating to crisp and turn golden brown.
- Flip the cutlets carefully using a fish spatula and cook the second side for 2-3 minutes until golden.
- Transfer the cooked cutlets to a paper towel-lined plate and tent with foil to keep warm.
- Add remaining 3 tablespoons butter to the skillet and repeat steps 14-18 with the second batch.
Finishing Phase
- Return all four cutlets to the skillet over low heat for 30 seconds to warm through gently.
- Arrange the cutlets on a serving platter and sprinkle with fresh lemon zest immediately.
- Squeeze fresh lemon juice over the top and serve right away while still hot and crispy.
Pro Tips for Best Results with Garlic Parmesan Chicken
- Toast your breadcrumb mixture in a dry skillet over medium heat for 2-3 minutes before using it. This step deepens the garlic flavor and adds subtle toastiness that elevates the entire dish.
- Use a meat thermometer to ensure cutlets reach exactly 165°F internally. Overcooking by even 5 degrees results in dry chicken, while proper timing keeps the meat perfectly juicy.
- Let the breaded cutlets rest in the refrigerator for 15 minutes before cooking. This allows the coating to set firmly, reducing the chance of it slipping during frying.
- Maintain consistent pan temperature by using medium-high heat rather than high. Excessive heat burns the coating before the chicken cooks through, while lower temperatures result in greasy, soggy crusts.
- Add minced fresh garlic directly to the breadcrumb mixture rather than using garlic powder. Fresh garlic provides bold, aromatic flavor that powdered versions simply cannot match.
- Reserve 2 tablespoons of the cooking butter as a drizzle over finished cutlets. This nutty, browned butter adds luxurious flavor and creates a professional restaurant-style presentation.
Common Mistakes to Avoid When Making Crispy Chicken
Mistake 1: Uneven Cutlet Thickness Many home cooks fail to pound chicken uniformly, resulting in some sections cooking twice as fast as others. Thin areas become dry and rubbery while thicker sections remain undercooked. Fix this by pounding systematically from the center outward, checking thickness frequently, and aiming for exactly 1/4-inch throughout.
Mistake 2: Skipping the Flour Layer Some recipes omit the flour dredging step to save time, but this prevents the egg from adhering properly. The coating separates during cooking, leaving bare spots on the chicken. Always use flour as the first layer in your breading station for optimal adhesion and crispiness.
Mistake 3: Wet Chicken Before Breading Excess surface moisture causes the coating to steam rather than crisp, resulting in soggy, disappointing cutlets. Moisture also prevents proper browning and creates a greasy rather than crunchy exterior. Always pat chicken completely dry with paper towels before dredging.
Mistake 4: Overcrowding the Pan Adding too many cutlets at once drops the pan temperature dramatically, causing oil absorption instead of crisping. The coating never achieves that golden-brown texture that makes this dish special. Cook in two batches with fresh butter for each batch, allowing cutlets plenty of space.
Mistake 5: Moving Cutlets During Cooking Constantly flipping or shifting the cutlets prevents the coating from setting and browning properly. The breading breaks apart and falls off into the pan, wasting both texture and flavor. Resist the urge to move them during the first side, only flipping once midway through cooking.
Variations and Substitutions for Garlic Parmesan Coating
| Ingredient | Substitution | Flavor Impact |
|---|---|---|
| Panko breadcrumbs | Regular breadcrumbs or crushed crackers | Results in denser, less crispy crust with finer texture |
| Parmigiano-Reggiano | Pecorino Romano or Asiago cheese | Stronger, more peppery notes replacing mild, nutty parmesan flavor |
| Fresh garlic | Roasted garlic puree or smoked garlic powder | Mellower, deeper garlic notes replacing bright, sharp fresh flavor |
| Butter | Olive oil or clarified butter | Lighter flavor with more Mediterranean character, less browning capacity |
| Italian herbs | Fresh basil, thyme, or rosemary | Brighter, more herbaceous notes replacing subtle dried herb background |
| Lemon zest | Lime zest or fresh orange zest | More tropical, citrus-forward brightness replacing bright lemon acidity |
| Chicken cutlets | Turkey cutlets or pork cutlets | Slightly different meat flavor but identical cooking method and timing |
Serving Ideas for Garlic Parmesan Chicken Cutlets
Serve these garlic parmesan chicken cutlets over a bed of fresh arugula tossed with extra virgin olive oil and shaved parmesan cheese. The peppery greens provide bright contrast to the rich, crispy chicken while keeping the meal light. Add roasted cherry tomatoes and a squeeze of fresh lemon for a complete, restaurant-quality plate.
Pair crispy chicken cutlets with creamy polenta or soft risotto for an elegant dinner that feels special yet requires minimal additional effort. The smooth, buttery starches complement the crispy coating perfectly while absorbing any pan juices. Garnish with fresh parsley and a final parmesan shaving for visual appeal.
Create a sophisticated sandwich by layering cooled cutlets on crusty ciabatta bread with fresh mozzarella, roasted red peppers, and fresh basil. This approach transforms leftovers into an impressive lunch or casual dinner option that transports easily for packed meals.
Serve garlic parmesan chicken cutlets with simple roasted vegetables like broccoli, asparagus, or green beans. Toss the vegetables with the reserved brown butter from the pan for cohesive flavors. This combination creates a balanced, nutritious meal that feels both comforting and elegant.
Plate the cutlets alongside a simple pasta dressed with garlic, olive oil, and fresh herbs for a complete Italian-inspired dinner. The crispy chicken stands out as the centerpiece while the gentle pasta absorbs any drippings. Finish with a sprinkle of fresh parmesan and a grind of black pepper.
Storage and Reheating Instructions for Crispy Chicken
| Method | Duration | Instructions |
|---|---|---|
| Refrigerator Storage | Up to 3 days | Cool cutlets completely, then place in an airtight container with parchment paper between layers. Store in the coldest part of your refrigerator. |
| Freezer Storage | Up to 2 months | Freeze cooked cutlets on a baking sheet for 2 hours, then transfer to a freezer bag. Removes excess ice crystal formation. |
| Oven Reheating (Best Method) | 5-7 minutes | Place cutlets on a rimmed baking sheet, spray lightly with cooking oil, and bake at 375°F until heated through. Restores crispiness better than other methods. |
| Toaster Oven Reheating | 3-4 minutes | Arrange cutlets on the toaster oven rack and heat at 400°F. Compact size delivers faster, crisper results than full ovens. |
| Skillet Reheating | 2-3 minutes | Warm 1 tablespoon butter in a skillet over medium heat, then briefly warm cutlets on each side. Quick method but requires constant attention. |
| Microwave (Last Resort) | 1-2 minutes | Place cutlets on a microwave-safe plate and heat at 50% power. Results in softer coating but acceptable for rushed situations. |
Nutritional Information per Serving
| Nutrient | Amount per Serving |
|---|---|
| Calories | 425 |
| Protein | 38 grams |
| Fat | 22 grams |
| Carbohydrates | 18 grams |
| Fiber | 0.5 grams |
| Sugars | 0 grams |
| Sodium | 680 milligrams |
Approximate values based on standard USDA ingredient database. Actual nutrition varies by specific brands and preparation method.
Frequently Asked Questions About Garlic Parmesan Chicken
How do I make garlic parmesan chicken cutlets extra crispy?
The key to maximum crispiness lies in three factors: using panko breadcrumbs, maintaining proper pan temperature, and avoiding moving the cutlets during cooking. Toast your breadcrumb mixture beforehand to add additional textural depth. Allow the first side to cook undisturbed for the full 3-4 minutes so the coating sets completely before flipping.
Can I prepare garlic parmesan chicken cutlets in advance?
Yes, you can bread the cutlets several hours ahead and refrigerate them before cooking. Place breaded cutlets on a baking sheet lined with parchment paper and cover loosely with plastic wrap. Refrigerating for at least 15 minutes helps the coating adhere better and cook more evenly, resulting in superior crispiness.
Crushed crackers, particularly saltines or cheese crackers, create excellent texture and add subtle flavor complexity. Regular all-purpose breadcrumbs work but produce a denser crust with less crunch. Crushed cereal like cornflakes adds novelty but may burn faster due to added sugars.
Why does my chicken cutlet coating fall off during cooking?
The most common cause is skipping the flour dredging step, as flour creates a dry base for egg adhesion. Wet chicken also prevents proper coating adhesion. Additionally, moving cutlets too early breaks the setting process. Ensure proper technique: dry chicken thoroughly, use flour, dip in egg, coat in breadcrumbs, then leave undisturbed for the full first-side cooking time.
How can I make healthier crispy chicken cutlets with less fat?
Use an air fryer instead of pan-frying to achieve crispiness with minimal oil, requiring only a light spray of cooking oil. Baking at 400°F on a wire rack atop a rimmed sheet pan produces decent results, though texture differs slightly from pan-fried versions. The air fryer method maintains 90 percent of the crispiness while reducing fat content significantly.
Conclusion
Garlic parmesan chicken cutlets deliver restaurant-quality results at home with straightforward technique and quality ingredients. This crispy dinner comes together in just 25 minutes, making it perfect for busy weeknights while remaining elegant enough for entertaining. The combination of golden-fried coating, tender chicken, and savory garlic-parmesan flavor creates an unforgettable dish that becomes an instant family favorite. Master this technique and you’ll have an impressive recipe that impresses guests and satisfies hungry diners every single time.
Print
Garlic Parmesan Chicken Cutlets: Crispy Dinner
- Total Time: 25
- Yield: 4 servings 1x
- Diet: None
Description
Crispy, restaurant-quality chicken cutlets with a golden garlic-parmesan crust, perfectly juicy inside. A quick, easy Italian-American classic for weeknight dinners or entertaining.
Ingredients
4 (6 oz each) boneless chicken breasts
1 cup freshly grated Parmigiano-Reggiano cheese
1.5 cups panko breadcrumbs
4 cloves minced fresh garlic
6 tablespoons unsalted butter
1 teaspoon salt
1/2 teaspoon ground black pepper
Instructions
Thick chicken breasts: Pound to 1/4-inch thickness between plastic wrap
In a bowl, mix panko breadcrumbs, Parmesan, minced garlic, salt, and pepper
Coat each chicken cutlet in the breadcrumb mixture, pressing firmly to adhere
Heat butter in a large skillet over medium-high heat (avoid overcrowding the pan)
Cook cutlets 2-3 minutes per side until golden brown and internal temperature reaches 165°F
Rest on wire rack 5 minutes before serving
Notes
For extra crispiness, refrigerate coated cutlets 10 minutes before frying
Use a meat thermometer to ensure doneness without overcooking
Letting butter brown slightly in the pan enhances flavor
If using regular breadcrumbs, mix with 1/2 tsp Italian seasoning for extra flavor
- Prep Time: 15
- Cook Time: 10
- Category: Dinner
- Method: Frying
- Cuisine: Italian-American
Nutrition
- Serving Size: 1 cutlet
- Calories: 350
- Sugar: 2g
- Sodium: 800mg
- Fat: 22g
- Saturated Fat: 12g
- Carbohydrates: 18g
- Fiber: 1g
- Protein: 30g
- Cholesterol: 150mg