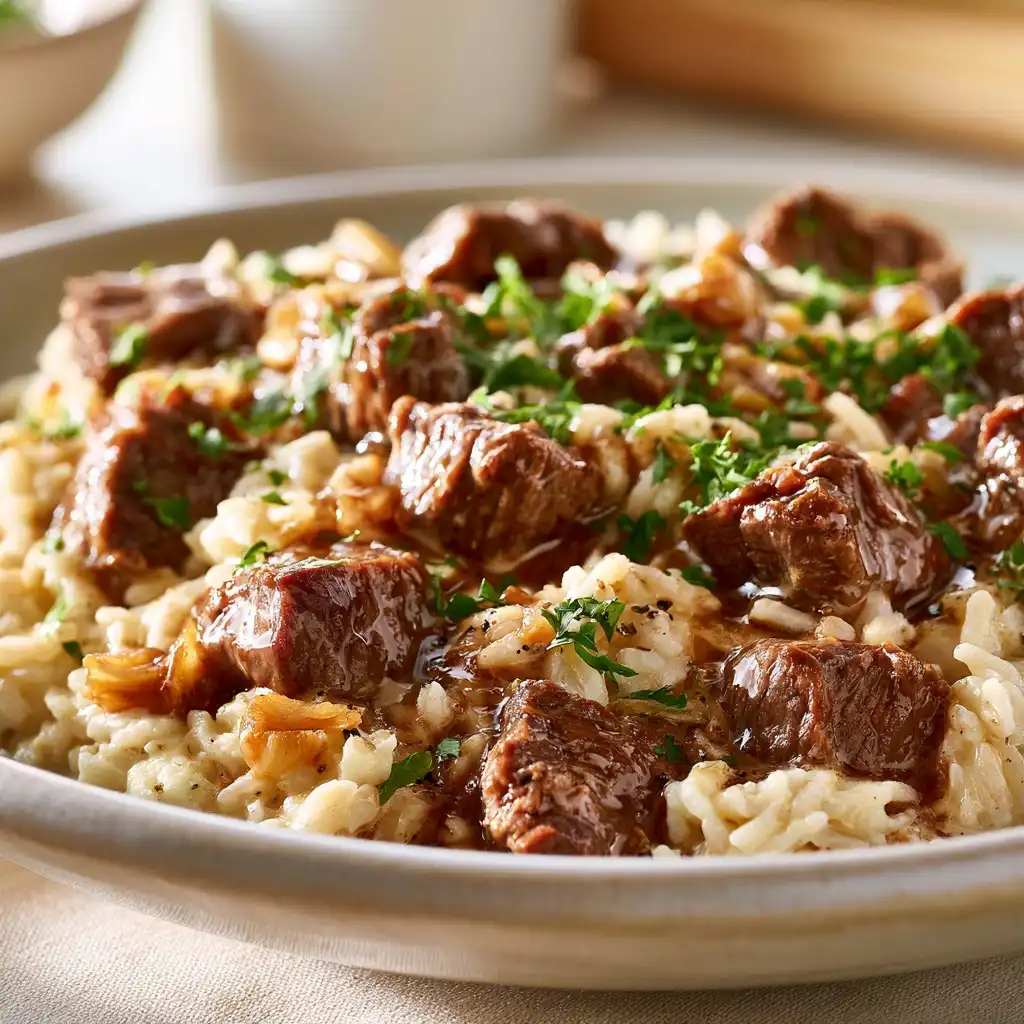
There is a specific kind of magic that happens when high-velocity hot air meets marinated protein and fresh fiber. As a professional chef, I’ve spent years over high-output ranges, but the air fryer has earned a permanent spot in my kitchen for one reason: efficiency without sacrifice. This Air Fryer Garlic Chicken and Green Beans recipe is the ultimate “one basket” solution. We are talking about succulent, golden-brown chicken bites infused with pungent garlic, paired with green beans that are snapped, seasoned, and blistered to perfection. It’s a meal that hits every sensory note—the sizzle of the basket, the aromatic punch of toasted garlic, and the crisp-tender snap of the vegetables.
Whether you are trying to master sheet pan lemon herb chicken and veggies or you simply need a 20-minute win, this guide will show you how to leverage your air fryer like a pro.

Why the Air Fryer is a Game-Changer for One-Basket Meals
In a traditional oven, getting chicken and vegetables to finish at the exact same time often requires staggered roasting or multiple pans. The air fryer changes the math. Because the heating element is so close to the food and the fan is so powerful, it creates a concentrated convection environment.
This means the chicken undergoes the Maillard reaction (that beautiful browning) much faster, sealing in juices, while the green beans dehydrate just enough to concentrate their natural sugars and become “charred” without turning into mush.
Ingredients You’ll Need (U.S. Customary)
To get the best results, quality matters. I recommend using fresh green beans rather than canned or frozen to maintain that signature snap.
- Chicken: 1.5 lbs Boneless Skinless Chicken Breasts or Thighs, cut into 1-inch cubes.
- Green Beans: 12 oz Fresh Green Beans, trimmed.
- Oil: 2 tbsp Avocado Oil or Extra Virgin Olive Oil (Avocado oil is better for high-heat $400°F$ cooking).
- Garlic: 4 cloves Garlic, minced (or 1 tbsp garlic paste for better coverage).
- Seasoning: 1 tsp Onion Powder, 1/2 tsp Smoked Paprika, 1/2 tsp Salt, and 1/4 tsp Black Pepper.
- Finish: Red pepper flakes and a squeeze of fresh lemon juice (optional).
Step-by-Step Instructions
1. Prep the Protein and Produce
In a large mixing bowl, toss your cubed chicken with 1 tablespoon of oil and half of the seasonings. In a separate bowl (or the other side of the big bowl), toss the green beans with the remaining oil, garlic, and seasonings. Pro Tip: Coating the chicken and beans separately ensures the garlic sticks to both rather than settling at the bottom of the bowl.
2. Preheat the Air Fryer
Set your air fryer to $400°F (200°C)$. Let it run empty for 3–5 minutes. Just like a professional grill, a hot basket prevents sticking and starts the searing process the second the food hits the metal.
3. Arrange the Basket
Place the chicken and green beans in the basket. It is okay if they overlap slightly, but try to keep them in a single, even layer for maximum airflow. If you have a smaller unit, you may need to cook in two batches.
4. The Cooking Phase
Air fry for 12–15 minutes. At the 7-minute mark, remove the basket and give it a vigorous shake. This redistributes the oil and ensures the hot air hits the pale underside of the chicken.
5. Check for Doneness
The chicken is done when the internal temperature reaches $165°F (74°C)$. The green beans should look slightly shriveled and have dark brown “blister” marks.
The Origin of the One-Basket Wonder
While the concept of “meat and three veg” is as old as home cooking itself, the air fryer evolution began in the mid-2000s and exploded in popularity over the last decade. It was designed to mimic deep-frying, but chefs quickly realized it was actually a compact convection powerhouse.
This specific combination—garlic chicken and green beans—draws inspiration from classic French bistro “Poulet aux Haricots Verts,” but re-imagined for the fast-paced American kitchen. It removes the need for heavy butter sauces, relying instead on high-heat caramelization to provide flavor. If you enjoy this flavor profile, you might also love my lemon chicken meal prep.
Top 3 Pro Tips for Success
- Dry the Chicken: Before dicing, pat the chicken dry with paper towels. Moisture is the enemy of browning. If the chicken is wet, it will steam rather than sear.
- The “Shake” is Mandatory: Don’t just flip the chicken; shake the basket. This creates “randomized contact,” which is how you get those crispy edges that look like they came off a restaurant flat-top.
- Mind the Garlic: If you find your garlic is burning before the chicken is done, use garlic powder in the initial cook and toss in fresh minced garlic during the last 2 minutes of air frying.
Common Mistakes to Avoid
- Overcrowding: If you pile the food to the top of the basket, the air cannot circulate. You’ll end up with soggy green beans and rubbery chicken. Cook in batches if necessary!
- Using Low-Smoke Point Oils: Avoid using butter or unrefined oils in the air fryer at $400°F$. They will smoke and give the food a bitter, burnt taste. Stick to avocado or light olive oil.
- Cutting Uneven Pieces: If some chicken chunks are huge and others are tiny, the small ones will dry out before the large ones are safe to eat. Aim for uniform 1-inch cubes.
Ingredient Substitution Matrix
| Ingredient | Best Substitute | Chef’s Note |
| Chicken Breast | Chicken Thighs | Thighs stay juicier but require 2 extra minutes of cooking. |
| Green Beans | Asparagus Spears | Cut asparagus into 2-inch pieces; they cook slightly faster. |
| Fresh Garlic | Garlic Powder | Use 1 tsp powder if you don’t have fresh cloves. |
| Avocado Oil | Grapeseed Oil | Both have high smoke points and neutral flavors. |
What to Serve With Your Garlic Chicken
This dish is a complete meal on its own, but if you want to bulk it up, consider these pairings:
- Grains: Serve over fluffy jasmine rice or a shrimp quinoa power bowl base.
- Low Carb: A side of cauliflower rice or a simple mediterranean chickpea salad works perfectly.
- Dipping Sauce: A quick whisk of Greek yogurt, lemon juice, and dried dill makes a refreshing “cool” contrast to the warm garlic.
Frequently Asked Questions
Can I use frozen green beans?
You can, but the texture will be softer. To avoid sogginess, air fry the frozen beans for 5 minutes alone first to evaporate the ice crystals, then add the chicken and seasonings.
How do I store and reheat leftovers?
Store in an airtight container for up to 4 days. To reheat, put them back in the air fryer at $350°F$ for 3–4 minutes. This restores the crispness that a microwave would destroy.
Is this recipe good for meal prep?
Absolutely. It’s one of my favorite quick dinners to prep on a Sunday. The flavors of garlic and paprika actually deepen overnight.
Can I use frozen chicken breasts?
I don’t recommend putting frozen solid chicken in the air fryer for this specific recipe, as the outside will burn before the inside thaws. Defrost your chicken in the fridge overnight first.
What if my air fryer only goes up to $390°F$?
No problem. Just add 2–3 minutes to the total cook time. The key is monitoring the internal temperature of the chicken.
More Quick Air Fryer & Chicken Recipes
If you loved the ease of this meal, check out these other favorites from the GoodTasteRecipes kitchen: